Application guides

Floor finish

How to varnish your floor?

Varnishing your floor, where to start? We’re giving you the best tips for using and applying Finitec floor varnishes, for a floor that looks shiny and like new. Follow our application guide!

Contact our customer service for more information

The different
steps to follow

  1. Step 1

    Step 1 Cutting in the room

    To ensure a clean and flawless application, it is recommended to cut in the room first, meaning to start with the edges. However, this step is not mandatory.

  2. Step 2

    Step 2 Pouring the varnish

    Pour a strip of varnish directly onto the floor, following the direction of the wood planks.

  3. Step 3

    Step 3 Soak the applicator and begin application

    The third step is to soak the varnish applicator and slowly pull it toward you, in the direction of the wood planks, at a 45° angle to allow excess Finitec varnish to flow onto the uncovered section. Apply in a continuous motion without applying pressure. Your surface should look wet.

  4. Step 4

    Step 4 Change direction

    Once you reach the end of the surface, do not lift the applicator. Instead, continue the motion in the opposite direction over a distance of about 12 inches (30 cm).

  5. Step 5

    Step 5 Remove excess liquid before continuing

    Once at the end and before changing direction, apply slight pressure on the tip of the applicator to remove excess liquid and smooth out any streaks by lifting the applicator at the end of the motion.

  6. Step 6

    Step 6 Follow the diagram on the side for a flawless finish

    Continue this process over the entire surface to be covered.

  7. Step 7

    Step 7 Work your way back to the door

    When you are about 15 to 30 inches (38 to 76 cm) from the wall, turn 90° and apply the varnish in the opposite direction of the wood planks, pulling the applicator toward you. Then move toward the door.

  8. Step 8

    Step 8 Don’t forget to smooth out the streaks

    Don’t forget to smooth out the streaks. However, avoid touching up areas that have begun to dry, as visible lines may remain. Even if you notice light streaks or marks on the wet surface, they will disappear as it dries.

  9. Step 9

    Step 9 Remove excess liquid again

    Apply slight pressure to the applicator to remove any excess liquid.

  10. Step 10

    Step 10 Finish the application

    Finish the application and gently smooth out the streaks toward the area that has already been covered.

Why choose these products?

Combined Shape

Environmentally Friendly

Combined Shape

Safe for you and your pets

Combined Shape

Water-based

Fill 2

Easy to use

Fill 2

High-performance

Path

Made in Quebec

Tips and advice for a spotless floor

A varnished floor requires regular maintenance to keep its shine and durability. Here are some practical tips to extend the life of your finish:

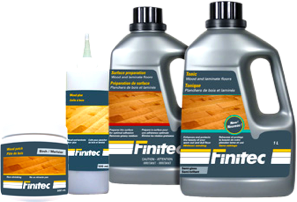
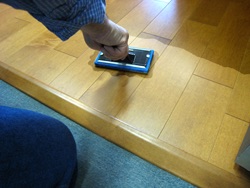
  • Use a mild cleaner: Avoid abrasive products and choose a cleaner specifically designed for varnished surfaces.
  • Protect high-traffic areas: Place rugs or felt pads under furniture to reduce wear and scratches.
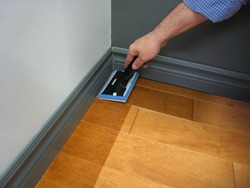
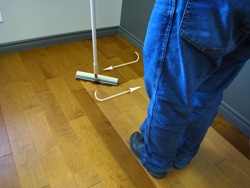
  • Maintain regularly: Vacuum or sweep with a soft broom frequently to remove dust and debris.
  • Avoid excess moisture: Too much water can damage the varnish and the underlying wood, so use a slightly damp mop.

With these simple habits, your floor will keep its shine and strength for many years!

Discover our products

Premium water-based products, carefully developed and designed for a better tomorrow.

Online store

Buy now with a single click.

Do it yourself!


Find the right product for your project.